A Utopian vizor, breather and coat, from Terra Ignota
Published
Updated
Those who lived through it cannot forget the days after Apollo’s death, when across the globe the coats which should be windows to so many other worlds turned blank. When a Utopian dies before his time, the Hive mourns together, all the coats in the world turning to static for as many seconds as their kinsman lost years—thirty seconds for a centenarian, ninety for someone full of midlife’s promise, a full two minutes for a child. Apollo’s murder was different. For him their mourning would not stop. They left the static for hours, days, four hundred million walking holes in space, their vow that they would catch the killer and end this nightmare where all other Hives had failed. It was terrifying, wounds of static around every corner, everywhere and organized, reawakening a fear Earth had not tasted since the Set-Set Riots. Seven Surrenders, Chapter the Sixth
I wanted a costume mask that incorporated some form of air filtration, and, well, things grew from there.
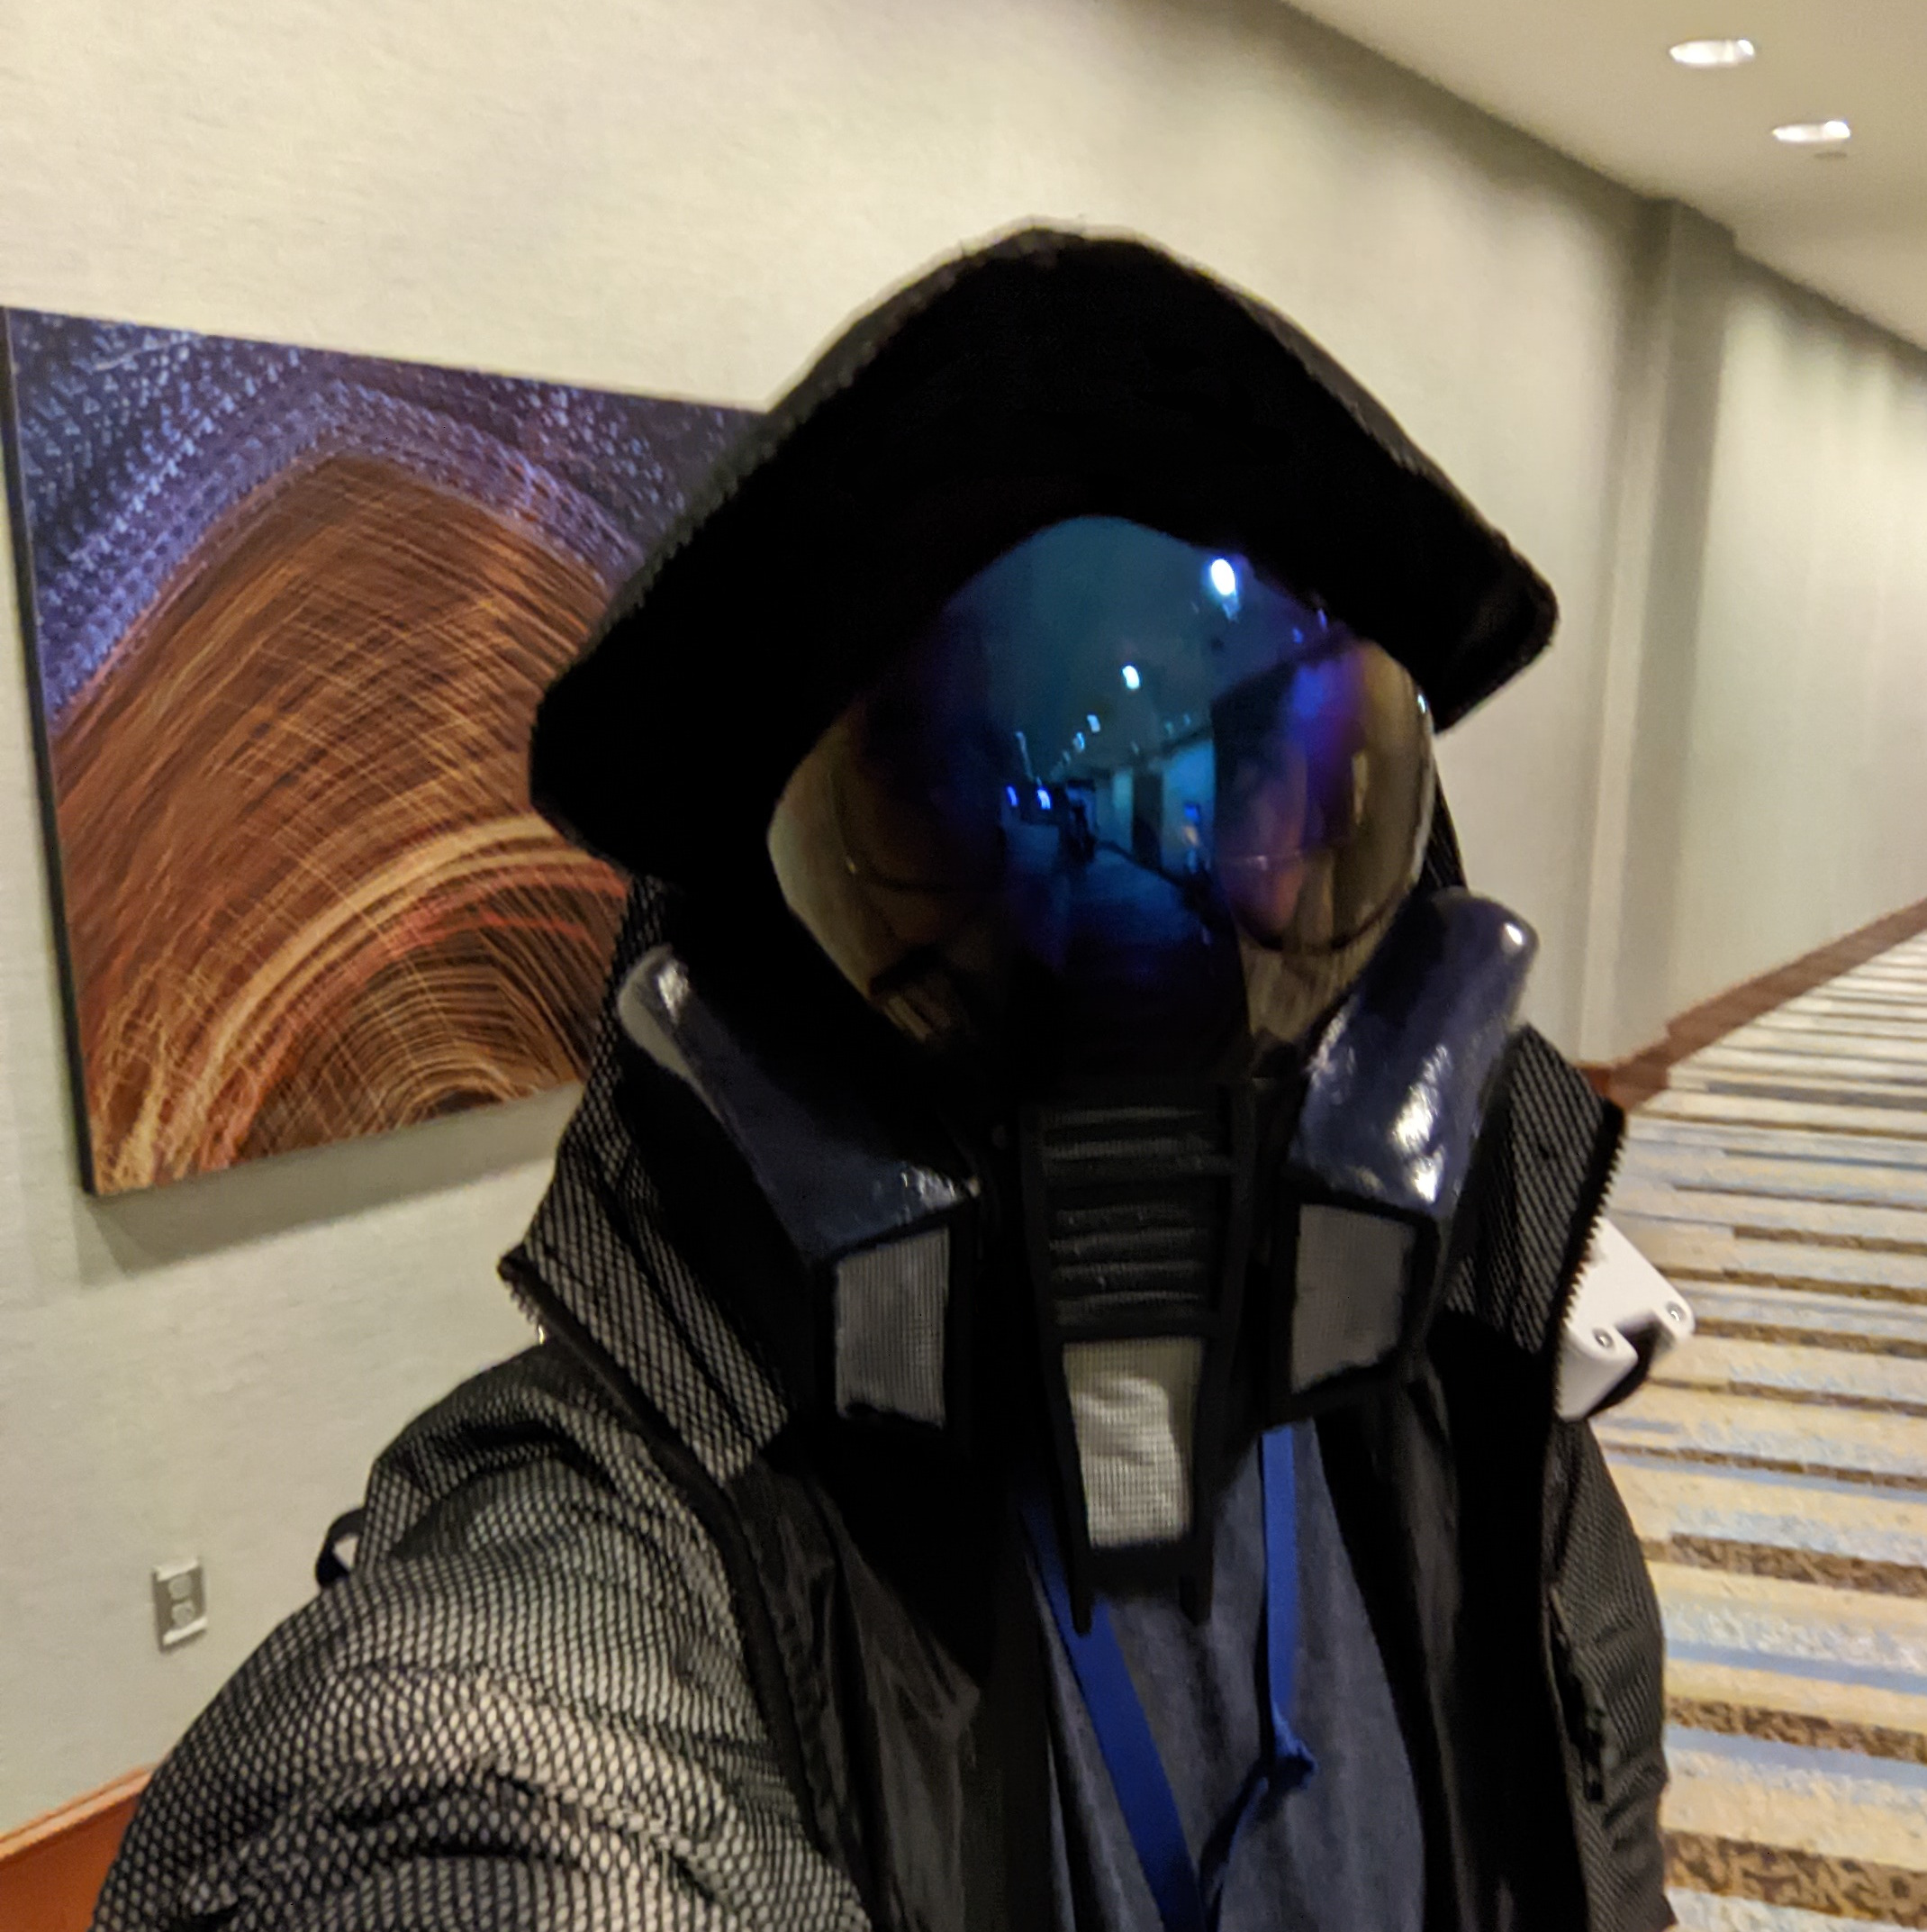
This is a Utopian Coat in mourning: it shows static and reflected noise, carrying no image of its own.
The coat is a retroreflective jacket from China via Amazon. The vizor is a full-face sunglass model from China via Amazon.
The core of this mask is a 3M 6200-series Half Facepiece Reusable Respirator, with a pair of 3M 60926 filter cartridges. To that, I’ve added 3d-printed covers for the filters, and a 3d-printed outflow filter in a style inspired by a Bionicle mask.
I did not create these models from scratch.
The model that gets printed from the 3d printer comes from a gcode file, which describes where to move the print head and how much plastic to extrude. The gcode file is made by a slicer program, which creates the gcode file’s printhead paths by analyzing the shapes encoded in STL files. STL files describe a 3d model in the form of points connected by edges. (some 3d modeling software creates .obj files instead of .stl; .obj is a different but similar format.) A cube has eight points and 12 edges. What would happen to the cube if you moved a point so close to another that they occupied the same space, and merged together? This is how I made my custom models: by opening the .stl files and rearranging their points.
The source files I used were the following:
The mask in total can be conceived of as two subassemblies: the filter covers, and the outflow filter.
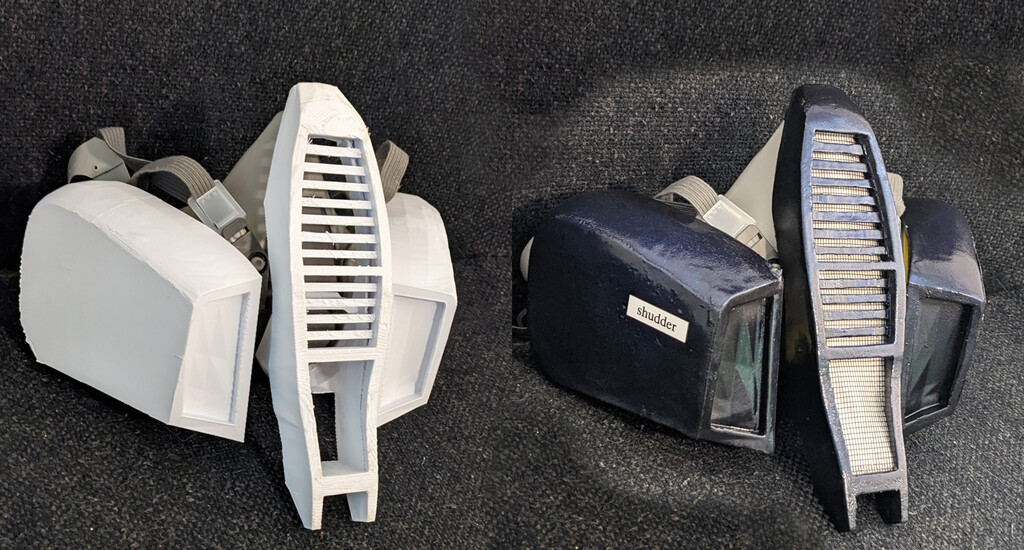
The two filter covers are mirrored copies of one cover, which was directly iterated on from the original source filter cover model. Here you can see the progression of changes to the left-hand filter cover, from the original model (left, painted copper) to the final model (right, painted blue):

The filter cover went through about eight iterations before reaching the point where I stopped and applied the paint for real.
The outflow filter was a more-complex assembly, being made of two pieces of plastic:
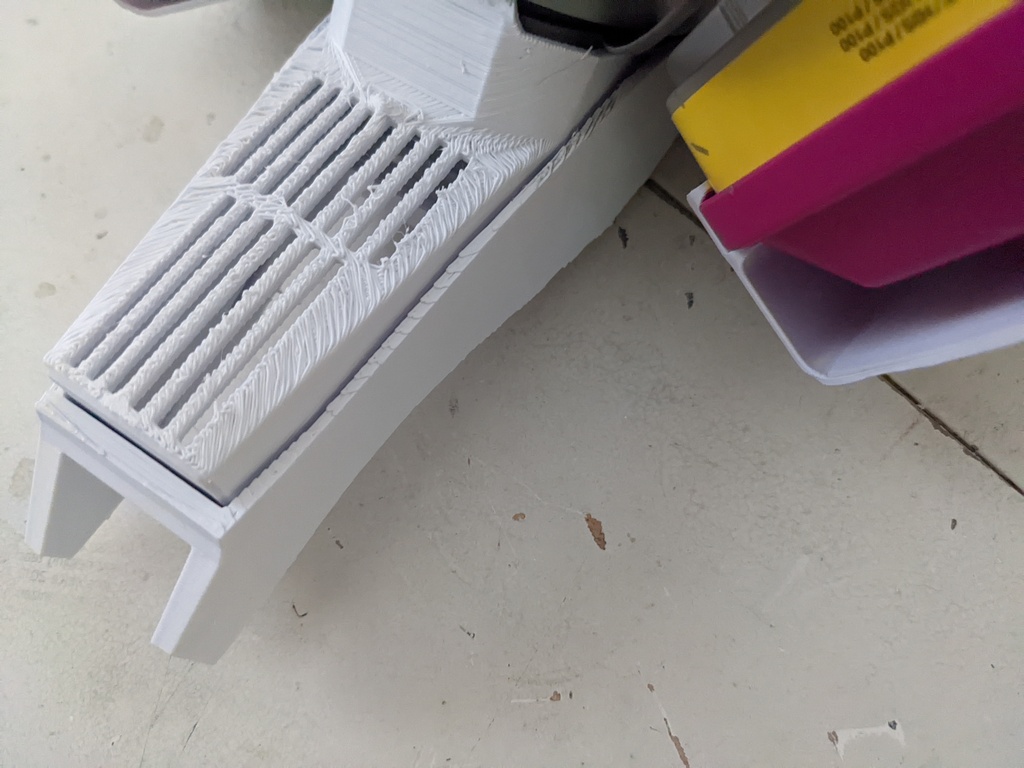
Sanding was attempted using hand sandpaper tools, but success was not found.
Instead, I used a combination of a hot iron and Dremel sanding. A hot woodburning iron is enough to reshape plastic and smooth out layer lines. Then I folowed that with a series of Dremel-powered rotary sanding passes using 220 and 320 grit sandpaper, which did result in light melting.
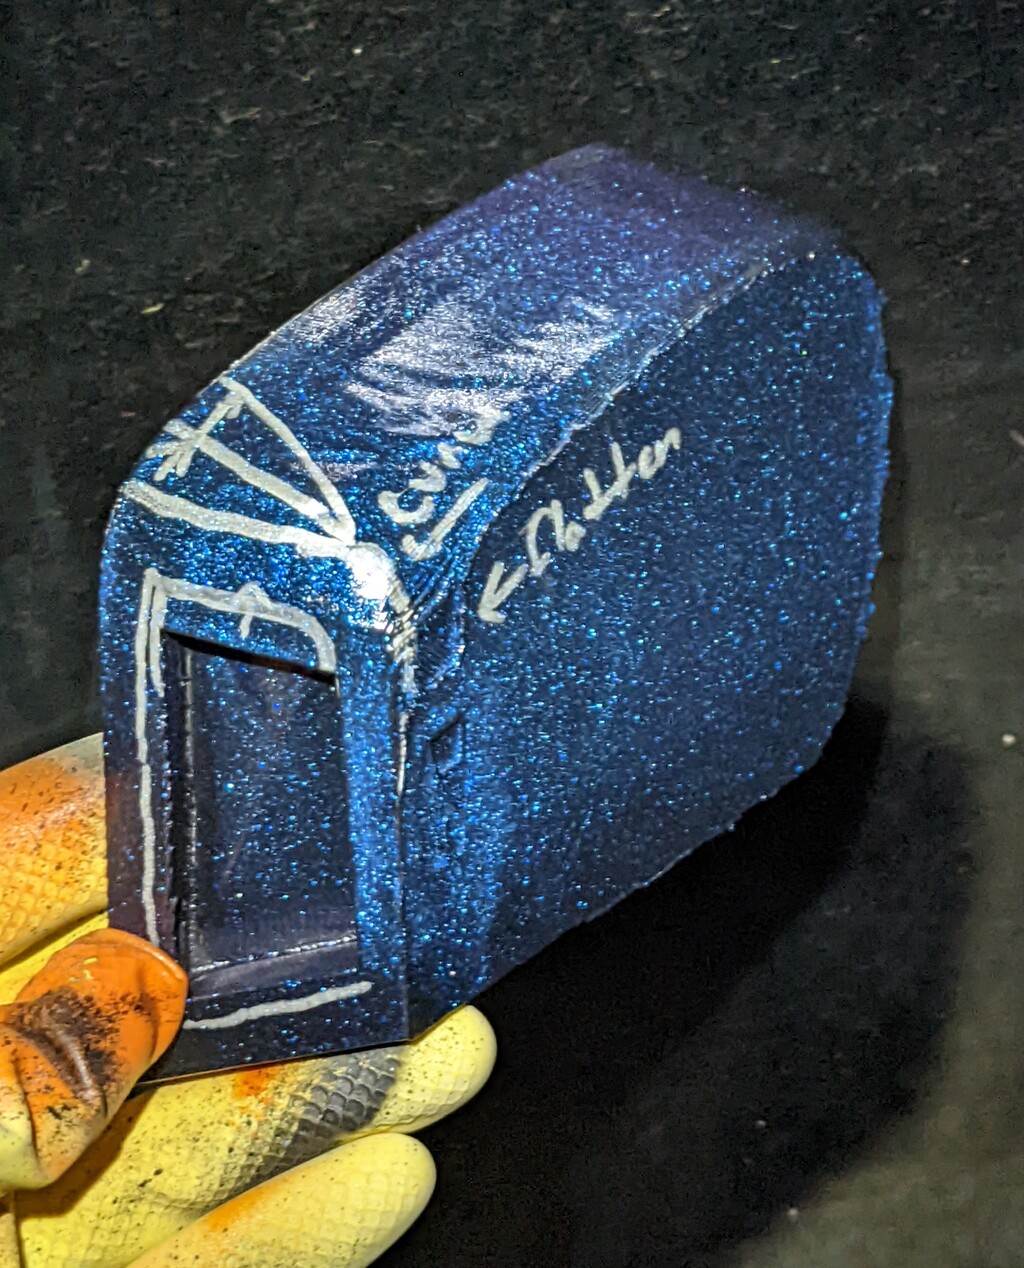
After the first version’s copper paintjob, I wanted something darker and bluer, to match the vizor. I ended up using several coats of black gloss primer, a double coat of automotive glitter paint, and then two coats of clear gloss.
… nah.
Maybe if I make a Bionicle version of this mask, I’ll post that. Check the Vakama page for updates.
The coat is a retroreflective jacket purchased from Amazon, with two other jackets disassembled to form the extension that makes this coat ankle-length.
This is the specific jacket I used, which has a sort of mesh bonded atop the retroreflective coating as a wear protection measure. You may choose a coat that doesn’t have that, in which case, I encourage you to consider overlays or paintings over your retroreflective jacket. Display your Nowhere, Utopian!
This costume won a hall costume ribbon at the 2023 North American Science Fiction Convention, Pemmi-Con, in Winnipeg.
It won a second hall costume ribbon at the 2024 NASFiC in Bufflo, from a member of the NY/NY Costumers’ Guild.