The construction and assembly of the Maratus volans head.
Published
Since the 2018 and 2019 skulls are composed from the same 3d model and resultant print, this page uses photos from both builds to show the construction process.
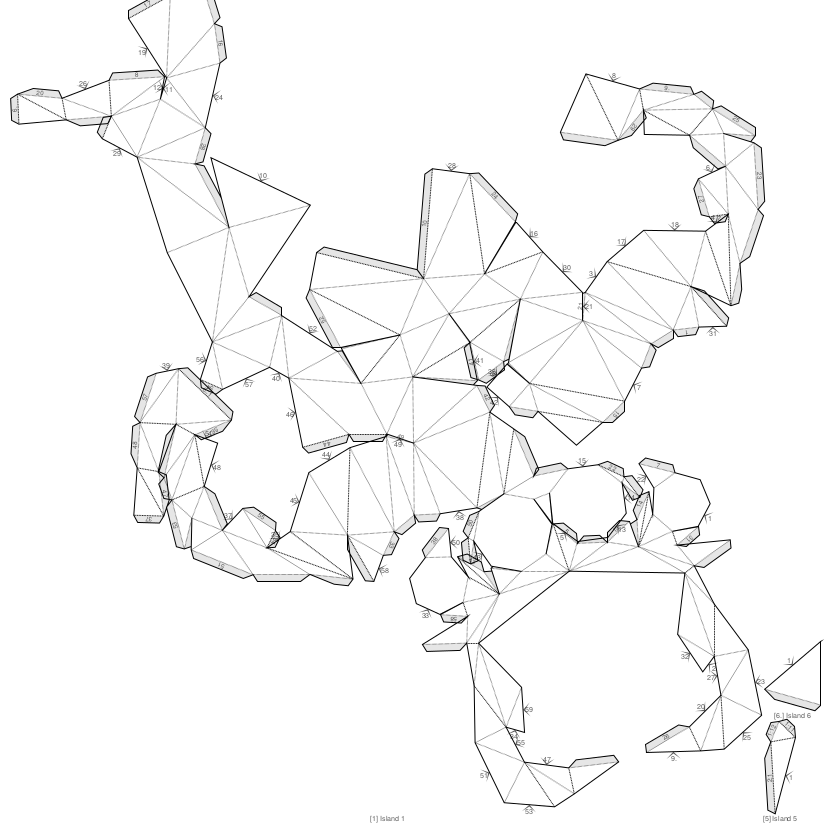
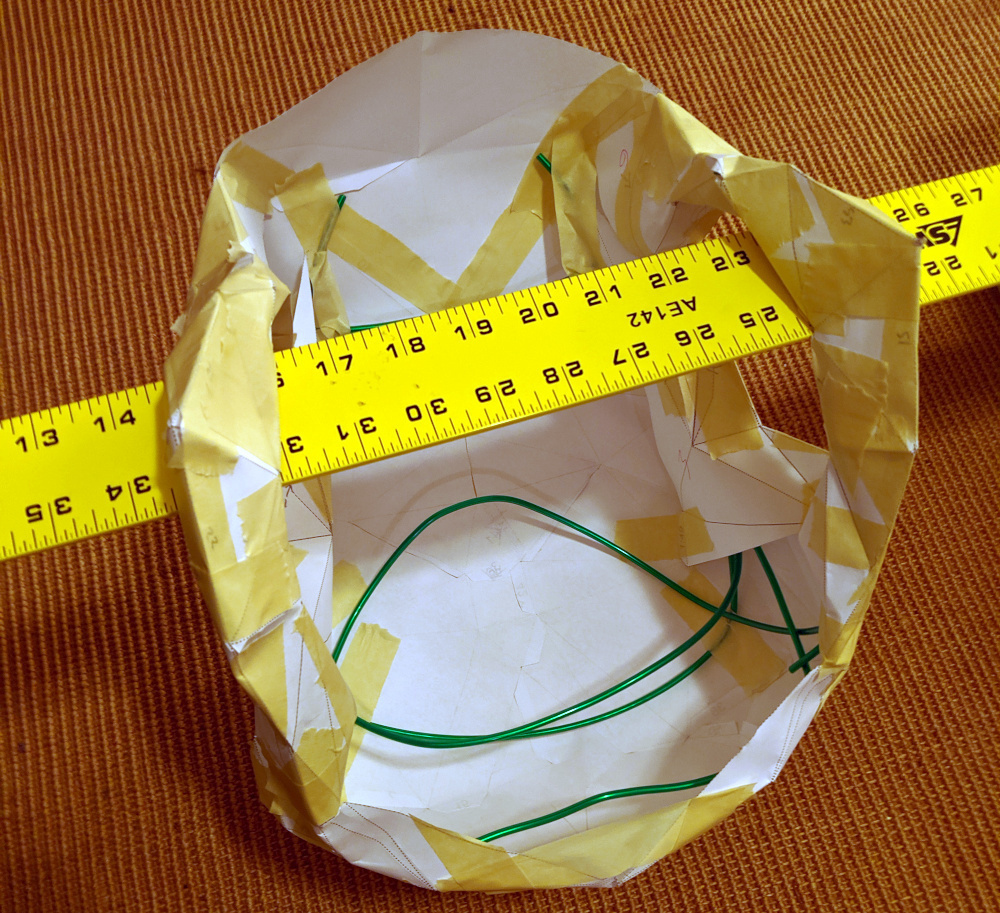
This is the paper template that I started from. The creation process is outlined in this article.
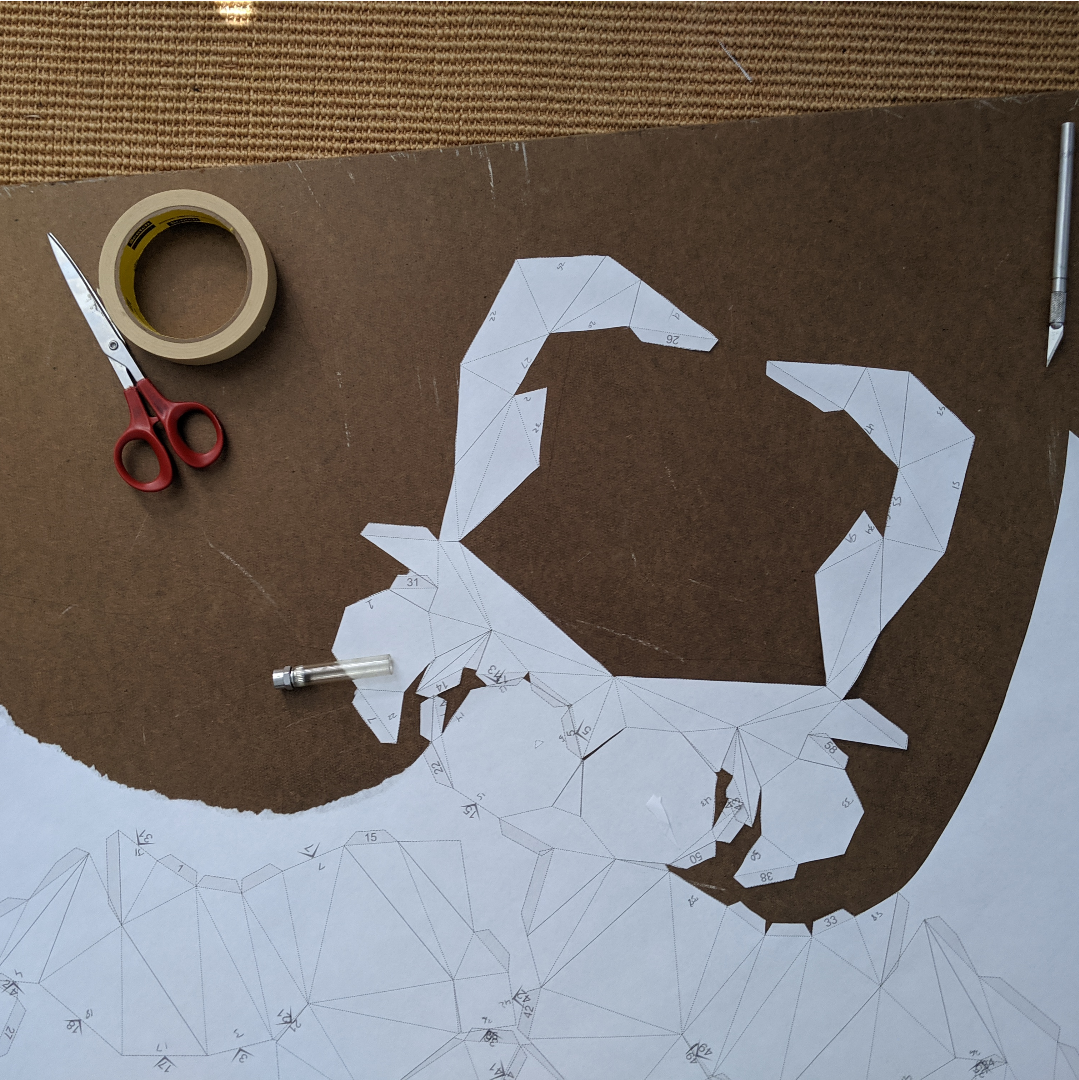
Trimming the paper preparatory to folding.
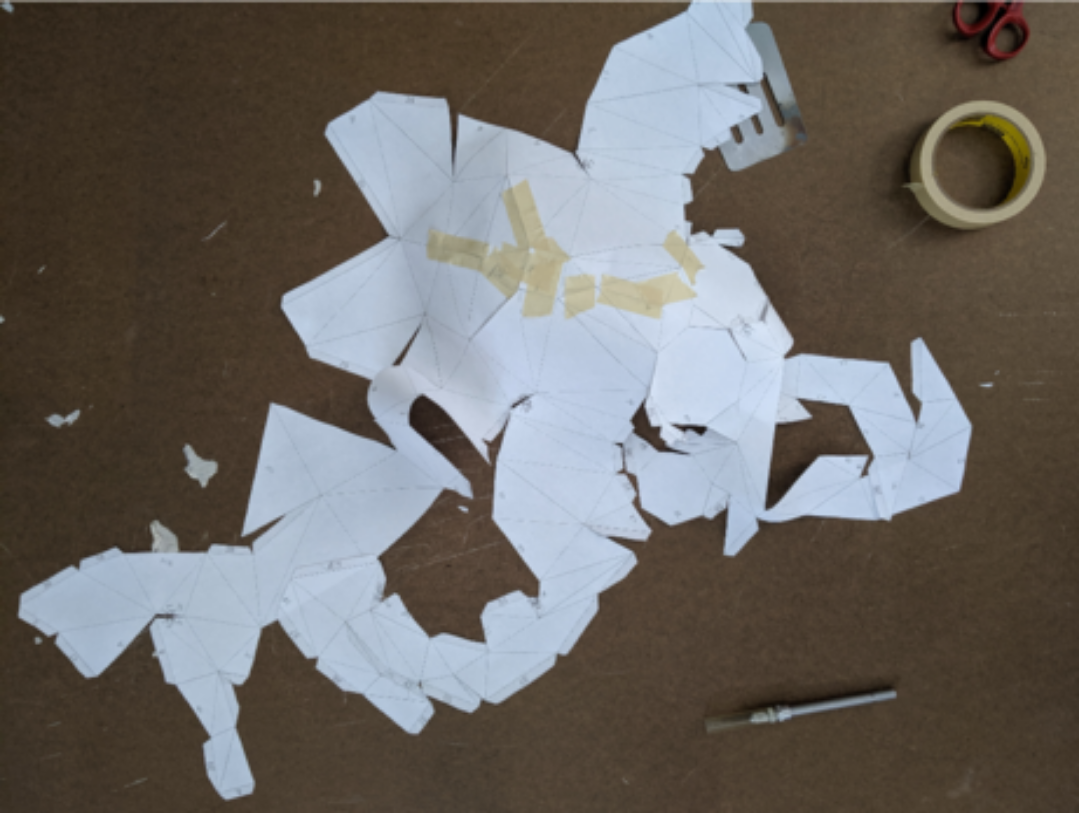
This 2019 photo shows the process of folding and taping the skull's polygons together.
This is an early print that was used to test proportions and placement of the head in 2018, before the full head was joined and printed.
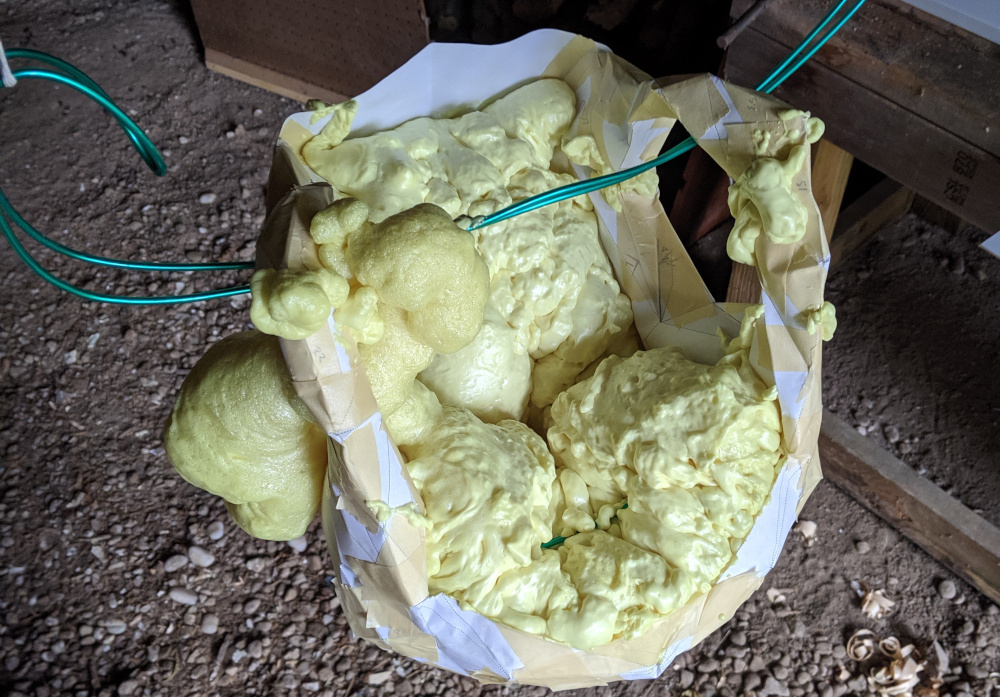
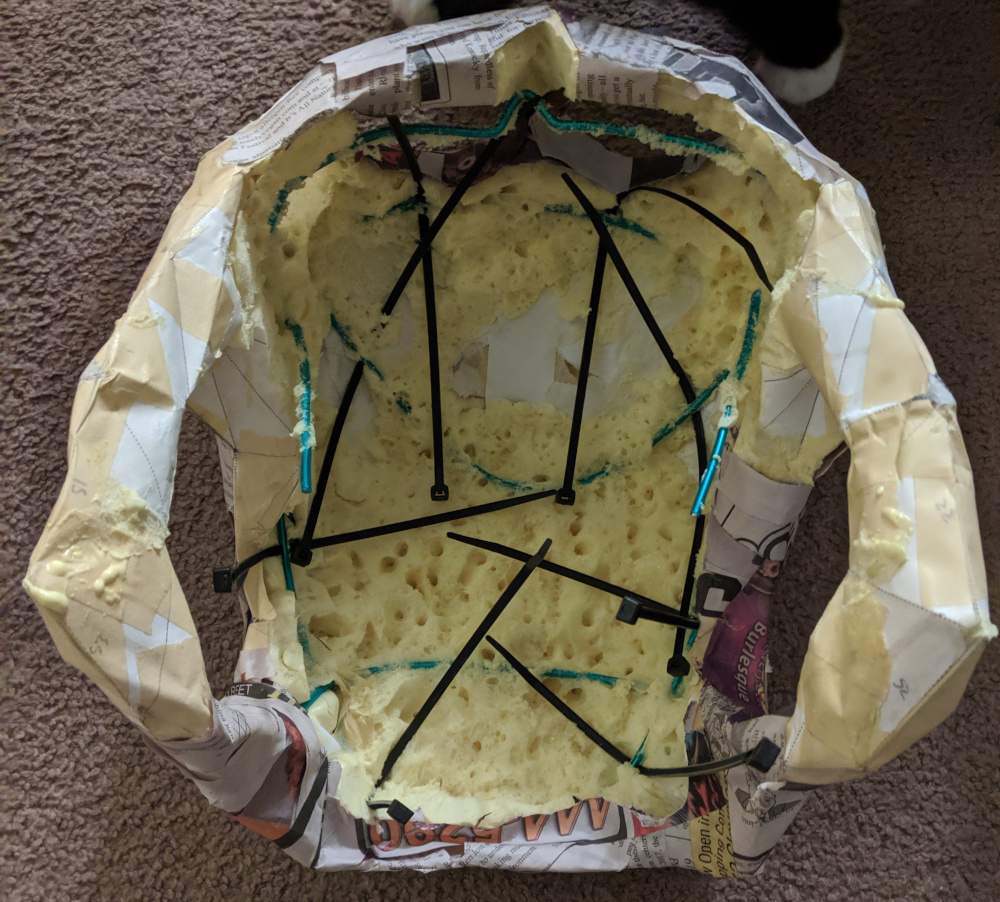
This photo of the 2018 head after inserting wire into the skull to help it retain its shape, and then filling it with spray foam. The spray foam's weight squashed the skull and deformed it as it dried.
To counter the squash that the 2018 head had, in the 2019 head I placed extra wire in the head, and then suspended the head from its most-rigid parts before filling it with foam.
Spray foam emits fumes as it cures. Don't let the spray foam cure in the same airspace you live in. Here, I've suspended the head from some wire in a garden shed. The foam's solvents weaken the paper temporarily, allowing the weight of the skull to distort the skull. If I repeat this design, I'll pull the two ear loops apart from each other so that the front and back of the skull aren't wrinkled.
The “low expansion” spray foam I use cures through the evaporation of solvents. The outside of the foam blobs can be quite dry, and yet the insides still be soft and sticky. Give your skull a day or two to cure fully.
I didn’t take any pictures of the excavation, the process where I removed all the superfluous foam from the interior. It’s a messy process that involves a lot of carving with knives, with other knives, with scissors and fingers and pliers. You’ll want a vacuum cleaner handy to prevent crumbs from traveling too far.
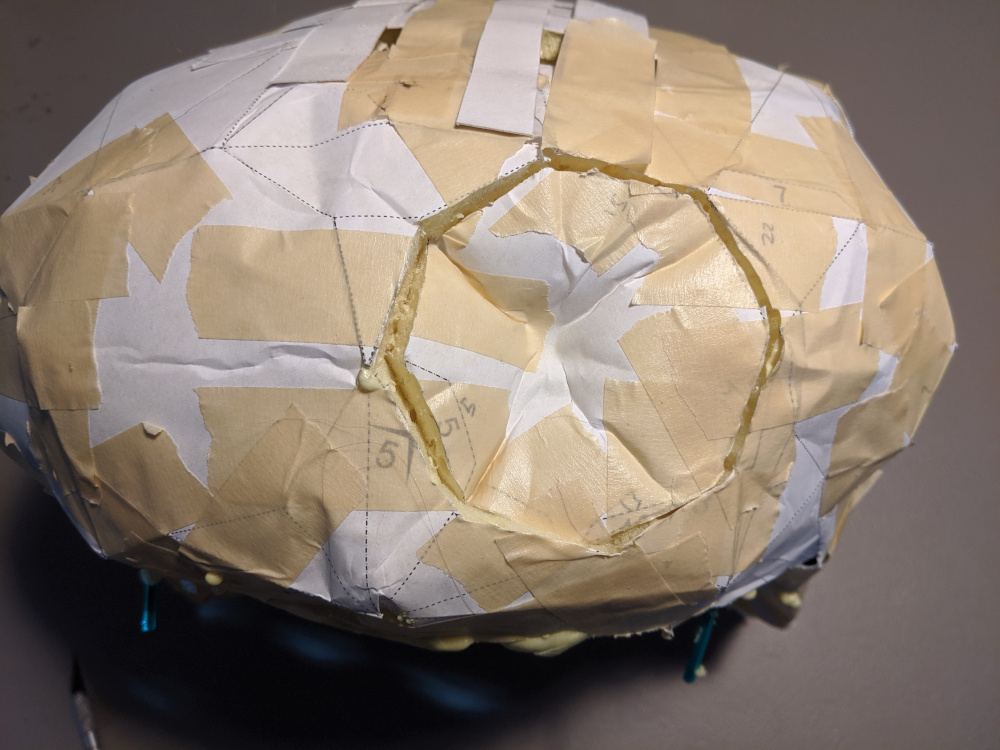
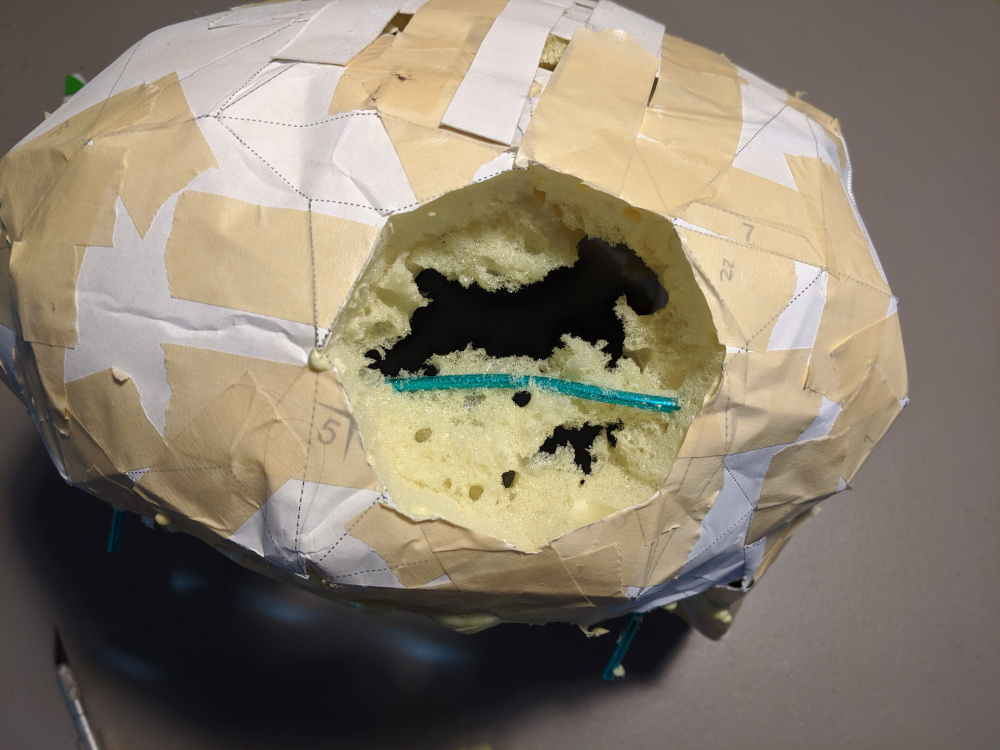
With the foam cured, the next step is to cut the holes for the face. Each eye was left solid in the papercraft print, and now exists to be cut out. Here I've cut the edges of the octagon forming the left primary eye, and punched the middle of the eye in to provide some feel for how much will need to be removed behind the hole in the face of the skull.
Behind the face of the mask is about an inch and a half of foam, plus one of the many structural wires. To see out of the mask, the wire must be cut.
After removing the excess foam, the skull was not as rigid as I wanted it to be. I coated the skull in several layers of papier-mâché to give it back that rigidity, and to cover over the masking tape that held the folded paper template together.
Papier-mâché is a process that takes hours over many days, as you wait for water-laden glue to dry out in front of a fan. I added one or two layers a day over the span of a week.
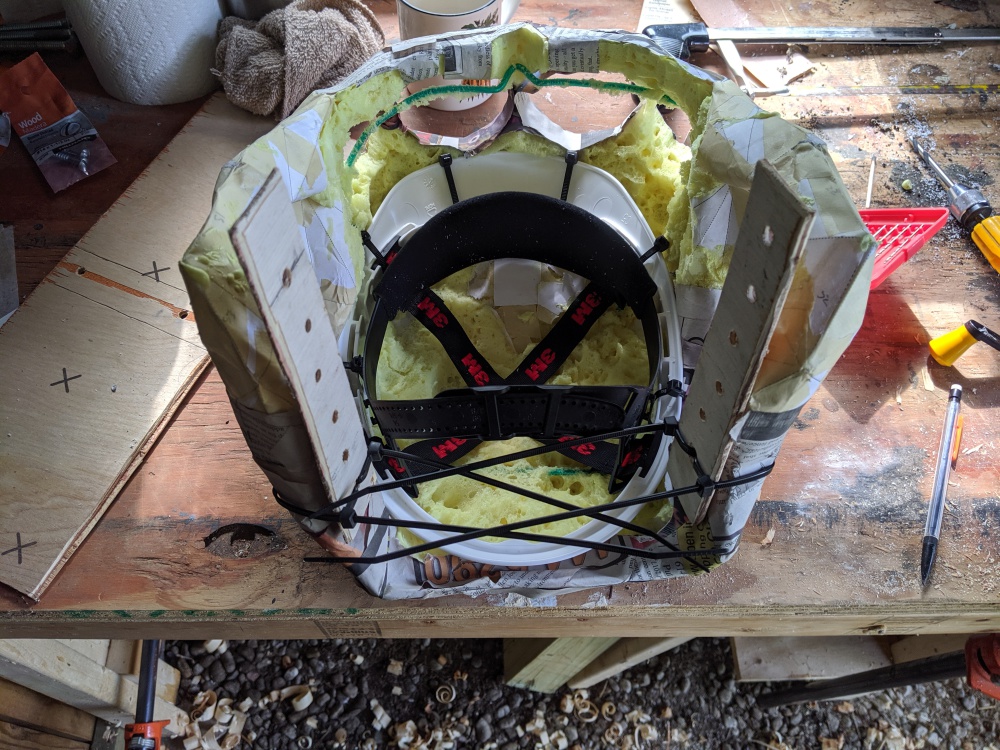
After scraping out the excess foam, it's time to prep for installing the suspension harness, which is made from a hard hat liner. Long zip-ties thread through the wire.
The helmet is mounted much as it has been in other projects: first, the crown of the helmet is removed with a hacksaw, then the brim is attached to the skull's inner wire armature via an array of zip ties. Here I've added two wooden arms to the back of the 2019 skull, to which the pedipalps will be attached. The 2018 skull lacked these arms. As a result, the pedipalps were not well articulated.
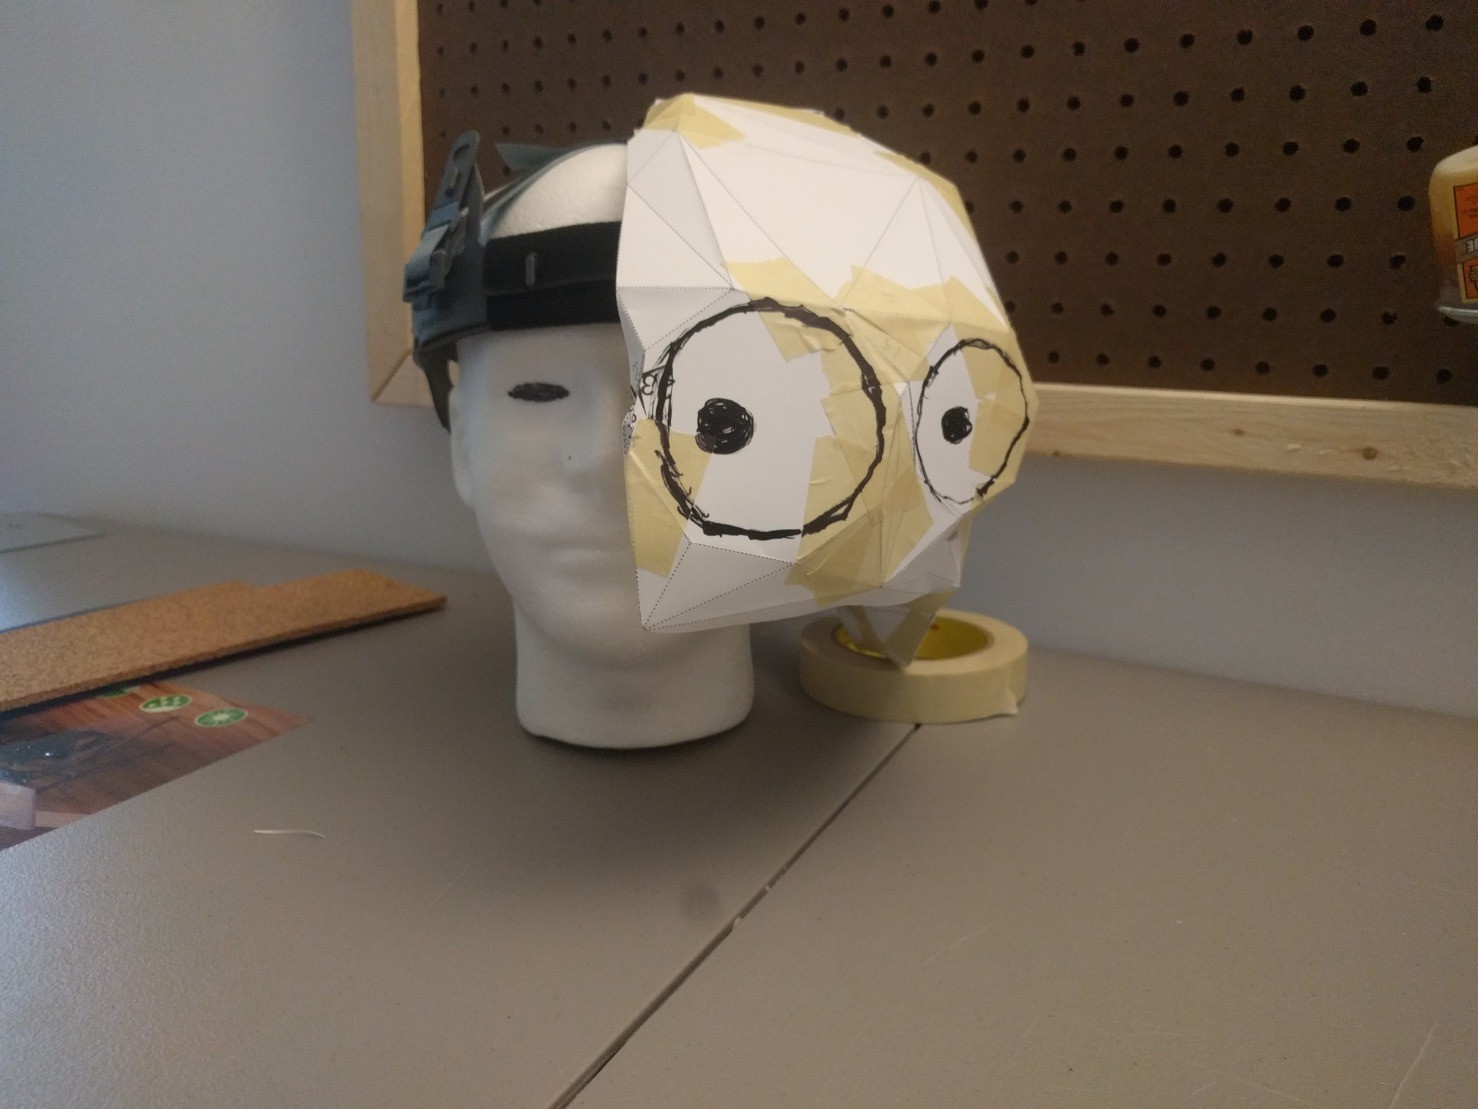
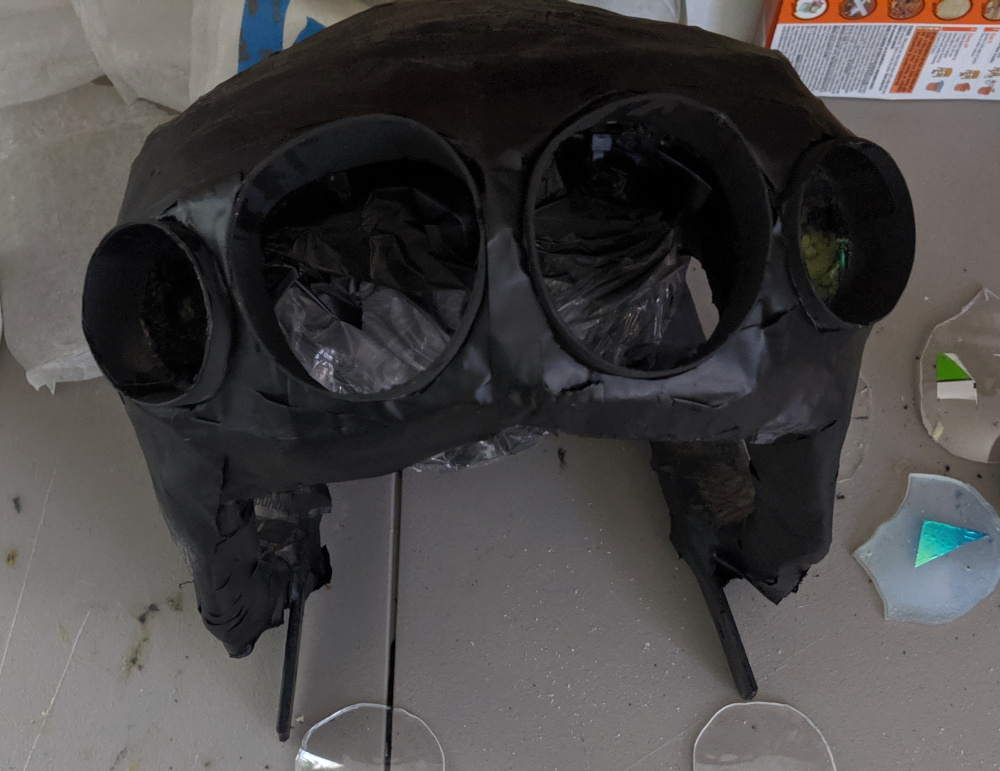
The black spraypaint over the papier-mâché provides a base coloration of the "exoskeleton" which will be covered by fur. You can see here that I've inserted thick paper rings into the eye holes. These rings will form the foundation for the eyes.
The fur was cut to shape, and laid over a liberal slathering of wood glue.
Pedipalps are assembled from thin wood strips bolted to the hinges at the back of the skull, wrapped in black fuzz for the first segment. Distal segments are made from cardboard chunks, and joined to each other with bicycle inner-tube segments and rubbery fabric strips, for flexibility. The ends of the pedipalps are covered in fur using the same technique as the skull.
The chelicacerae are cardboard shapes with a thin layer of pleather stretched over them and hot-glued in place. For articulation, a strip of rubbery fabric is affixed to the back of the chelicacera, and then safety-pinned to a fabric face mask.
At this point in the process, the skull’s structure is built out. I’ll call this article finished, and direct you back to the index of the Maratus head project, where you’ll find links for how I made the eyes.